


SUBSCRIBE TO OUR NEWSLETTER
Get the latest updates on new products and upcoming sales
You may return most new, unopened items within 30 days of delivery for a full refund. We'll also pay the return shipping costs if the return is a result of our error (you received an incorrect or defective item, etc.).
You should expect to receive your refund within four weeks of giving your package to the return shipper, however, in many cases you will receive a refund more quickly. This time period includes the transit time for us to receive your return from the shipper (5 to 10 business days), the time it takes us to process your return once we receive it (3 to 5 business days), and the time it takes your bank to process our refund request (5 to 10 business days).
If you need to return an item, simply login to your account, view the order using the "Complete Orders" link under the My Account menu and click the Return Item(s) button. We'll notify you via e-mail of your refund once we've received and processed the returned item.
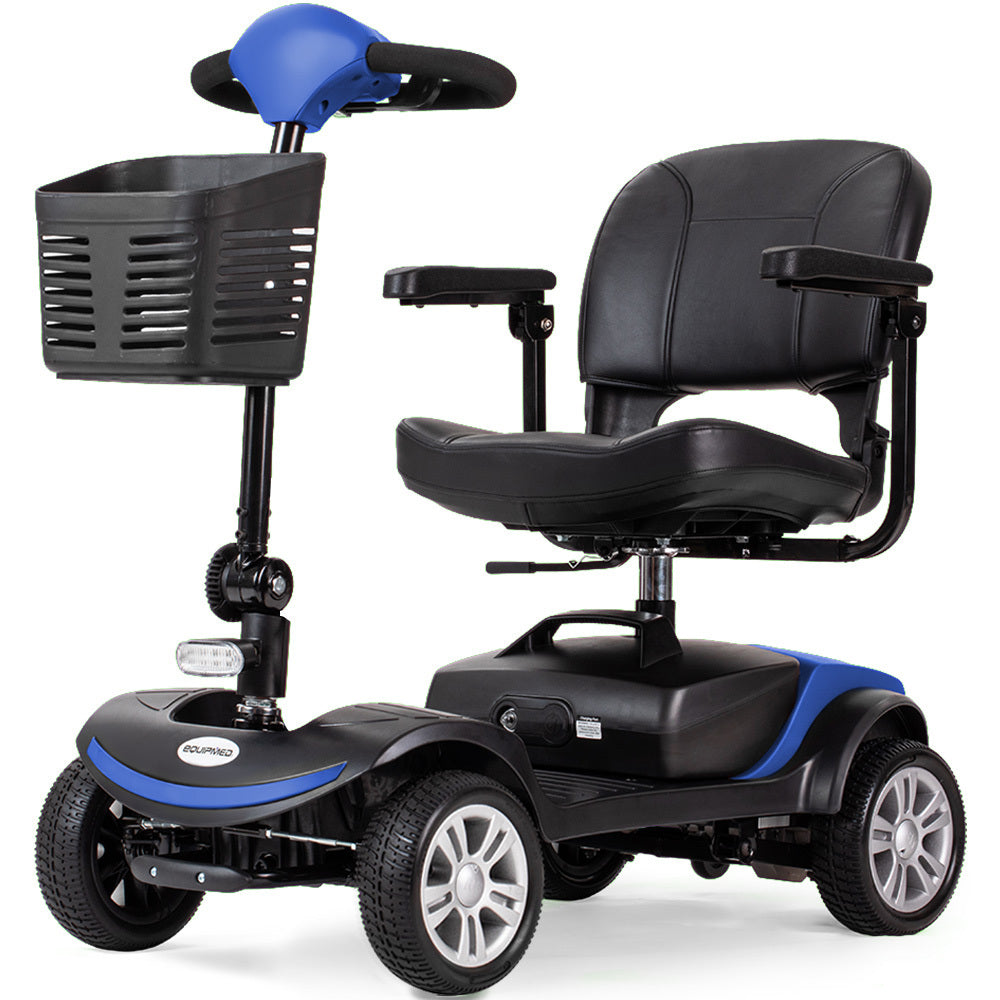
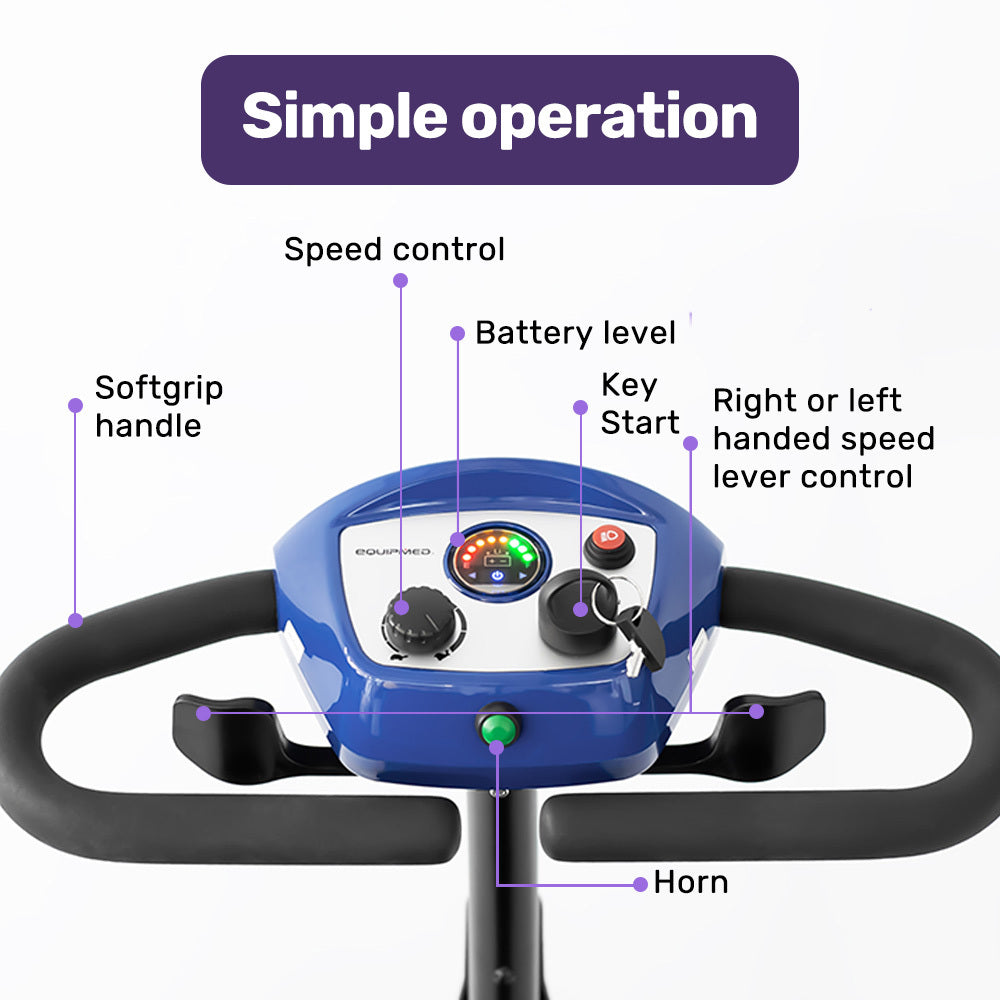
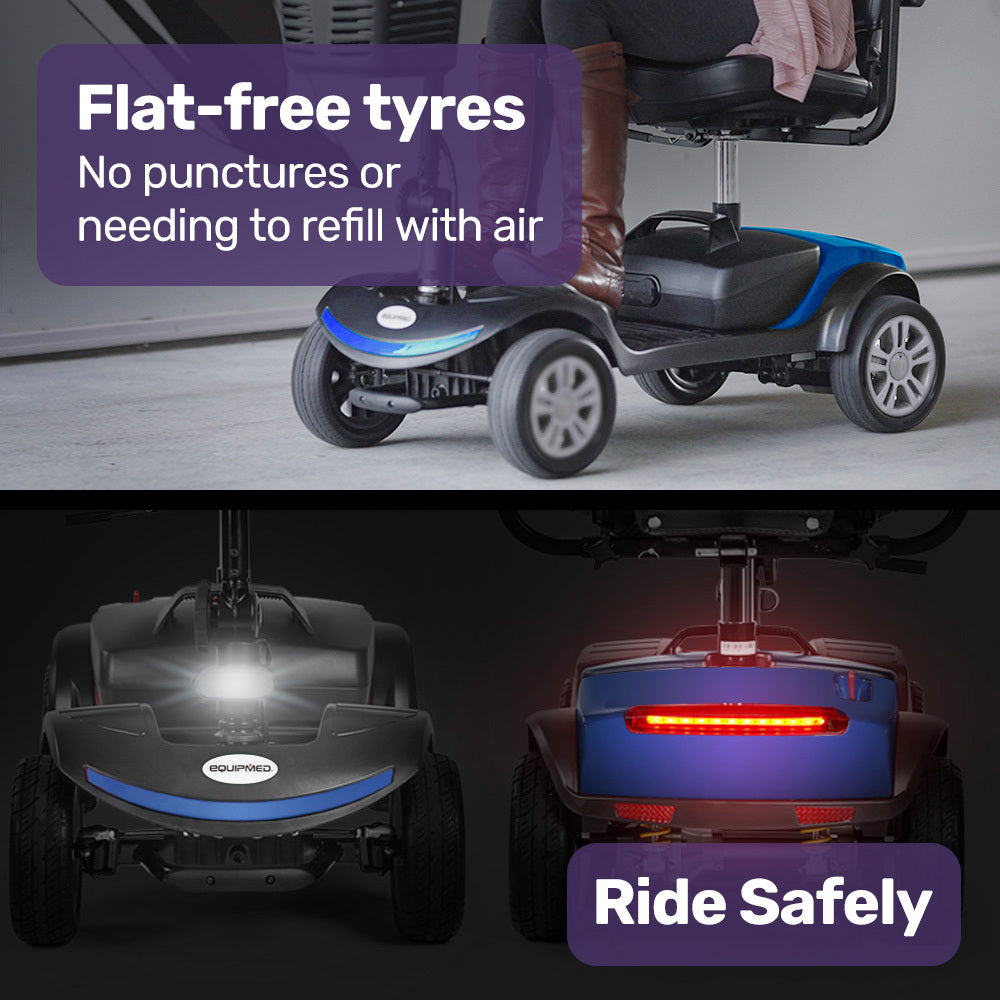
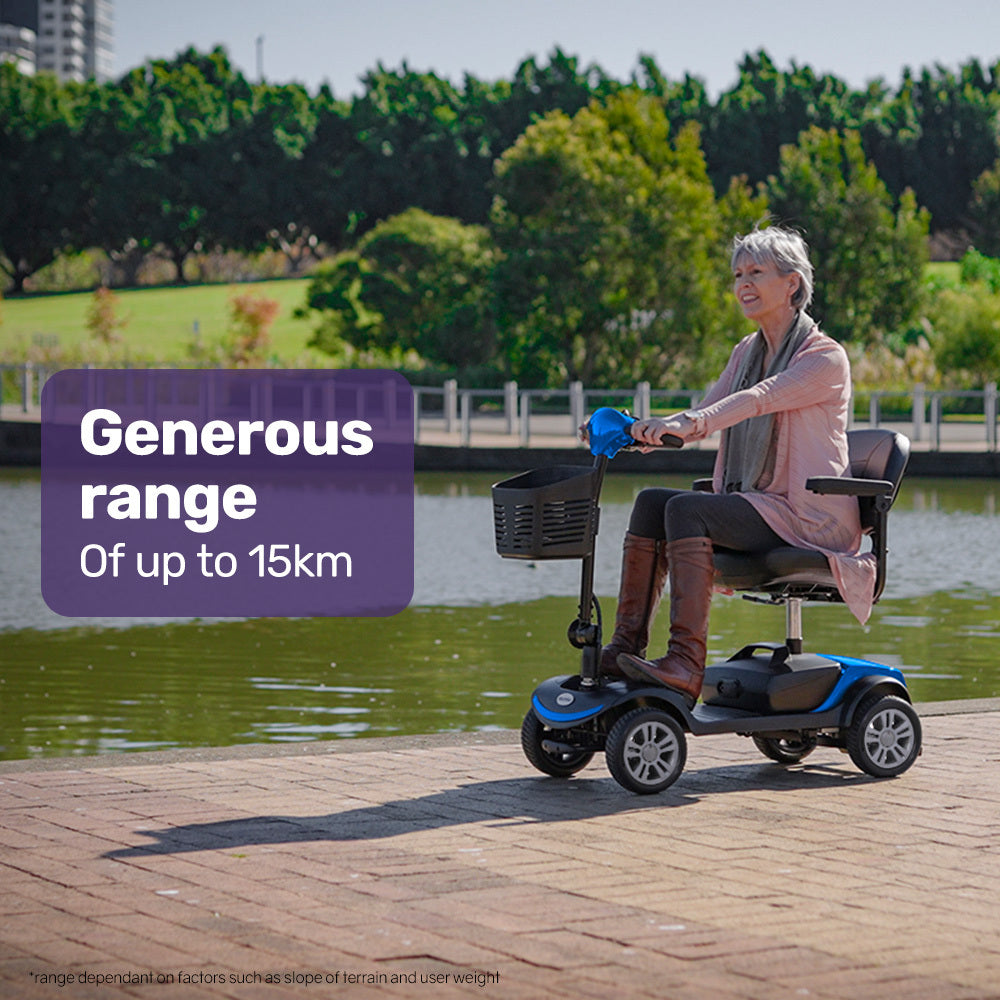
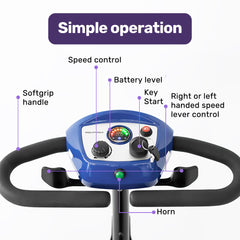
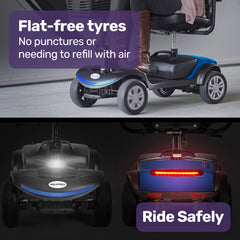
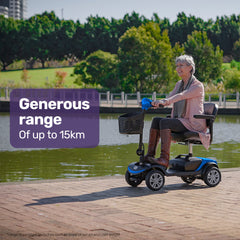
Regain your independence with the FreeRoam+ Mobility Scooter from Equipmed. Whether youre using it yourself or assisting someone, the controls are straightforward, and rear suspension ensures a smooth ride. It reaches up to 8km/h with a range of 12-15km, perfect for everyday outings. The Flat-Free tyres are a bonus, meaning no need to worry about maintaining tyre pressure.
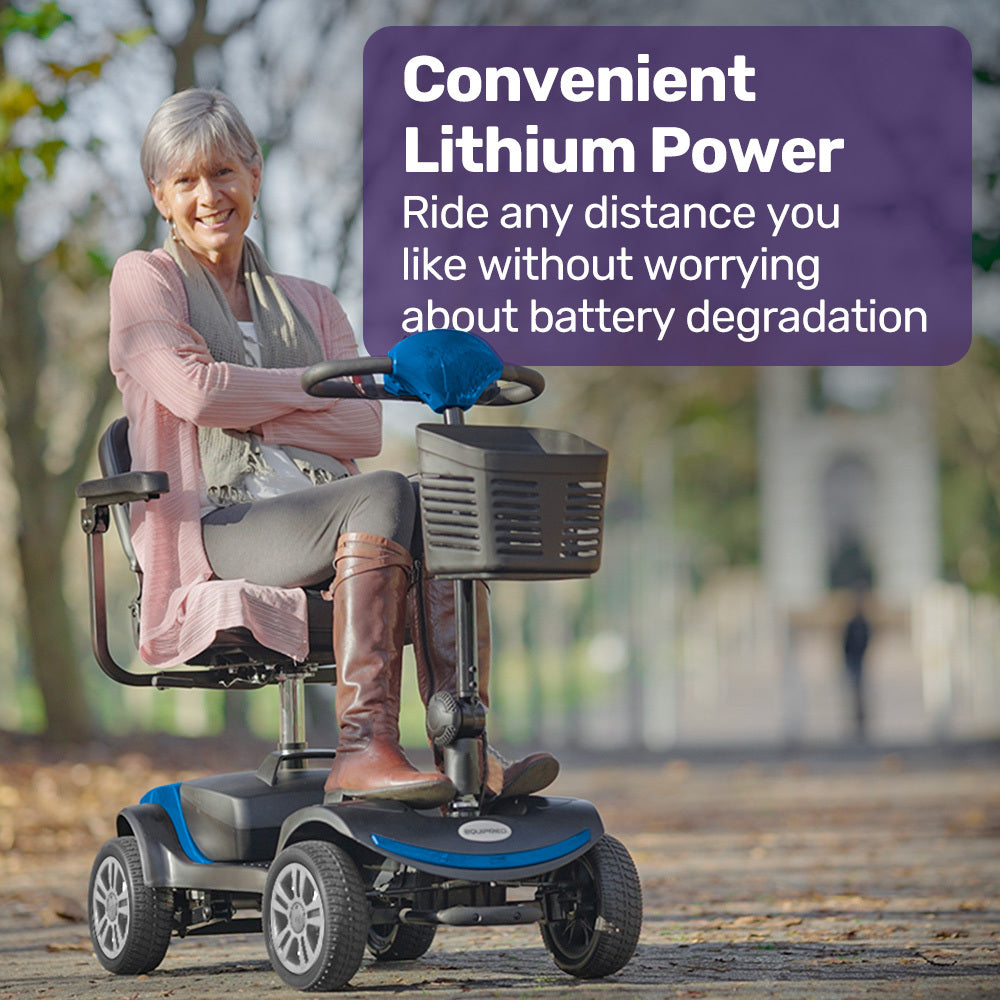
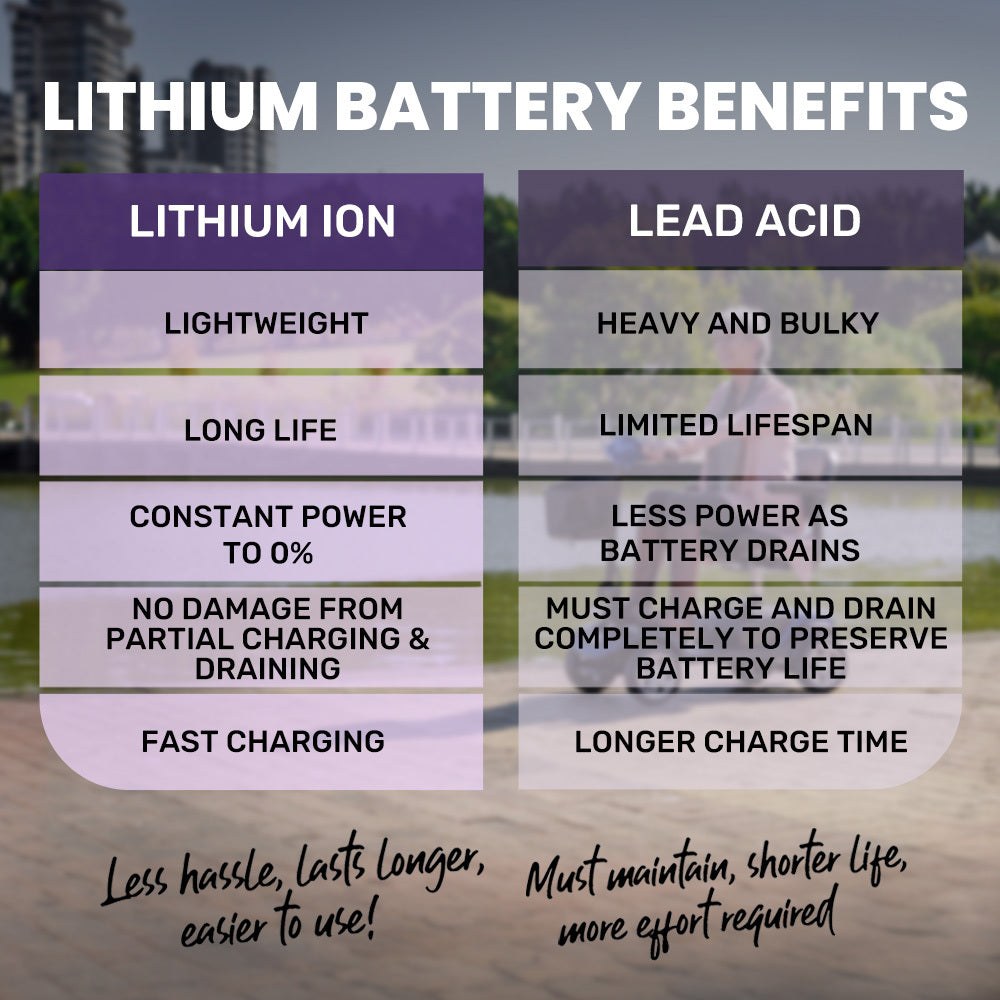
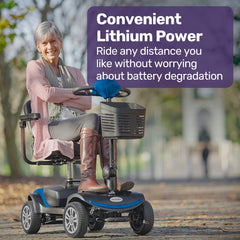
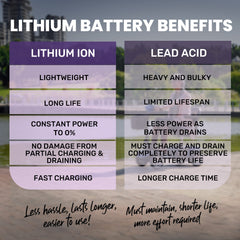
The FreeRoam+ features a lithium-ion battery, offering significant advantages over older lead-acid models. It requires no maintenance, charges faster, and can be topped up without damaging the battery life. This makes it much more convenient for both users and carers.
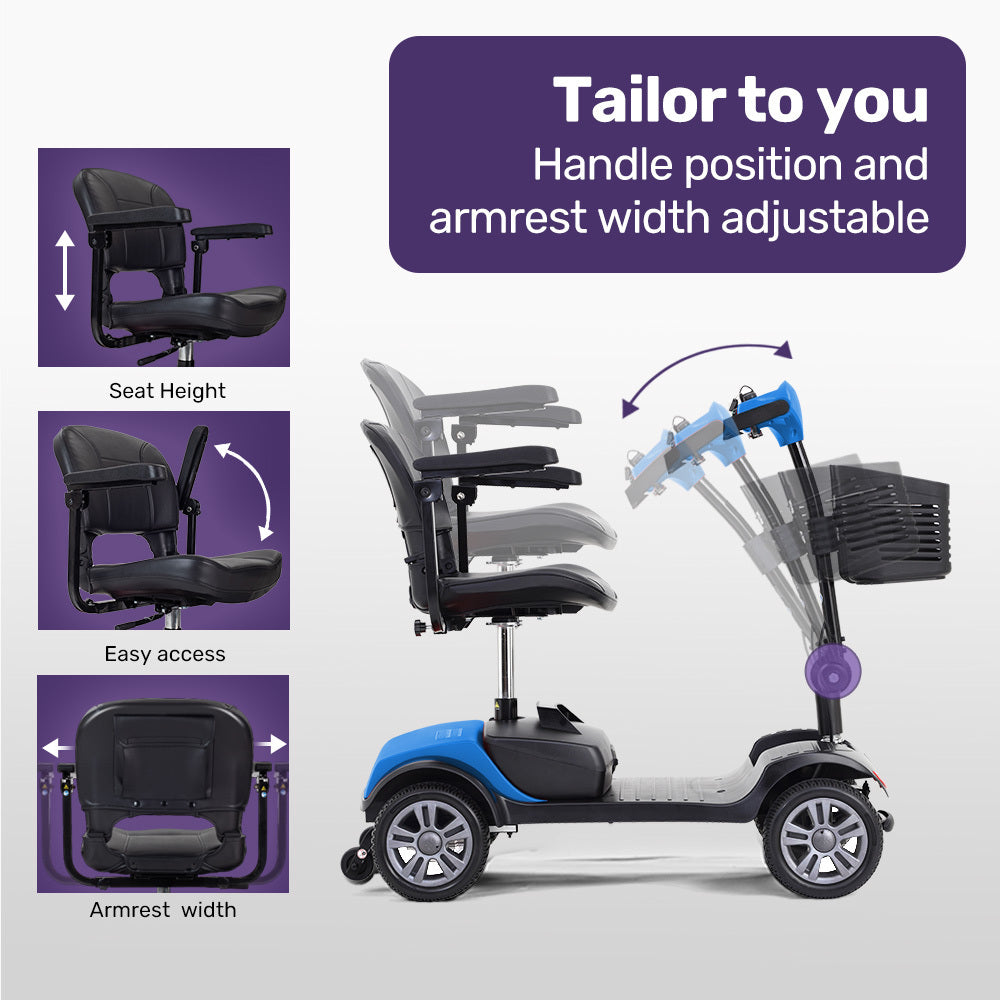
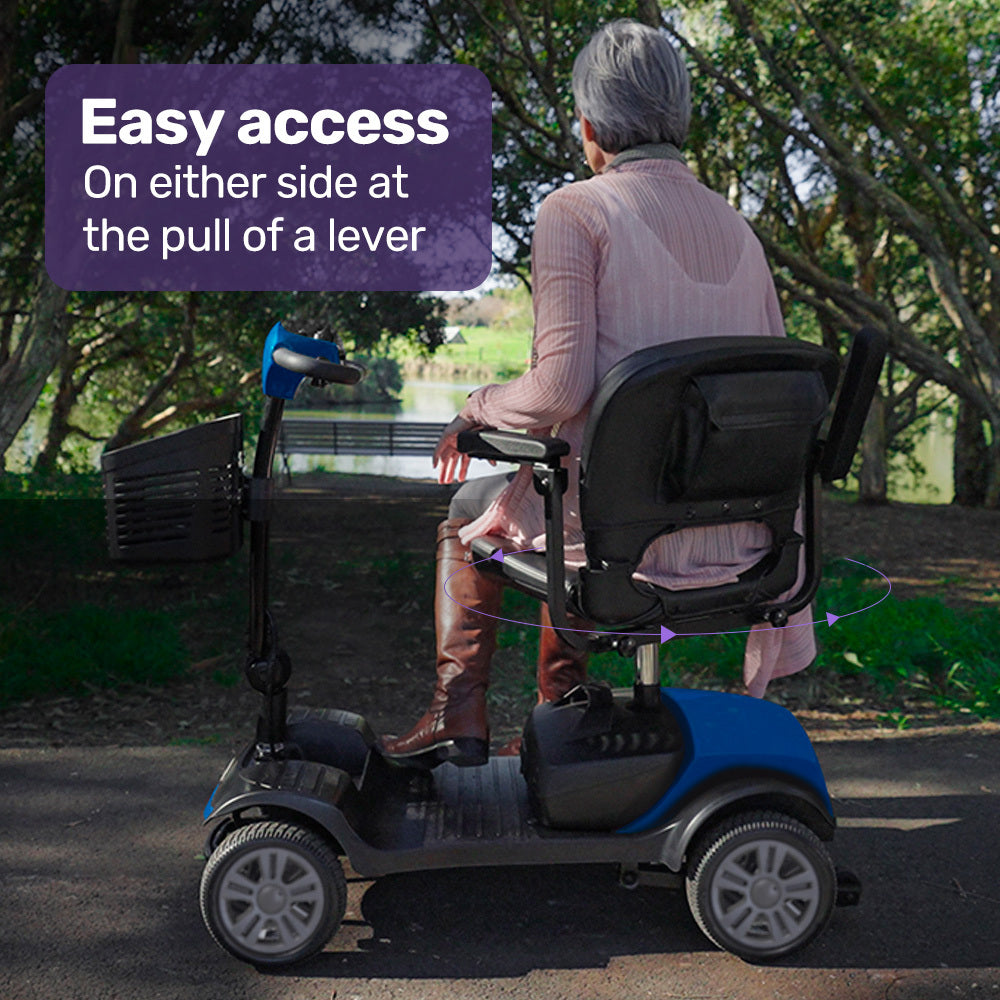
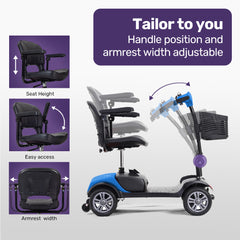
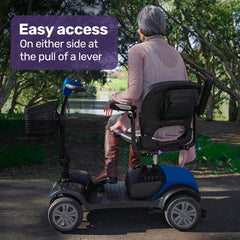
Comfort is key, with the extra padded seat designed to make every journey more enjoyable. The handlebars, seat height, and armrests can all be adjusted to suit individual needs. Getting on and off is hassle-free with retractable armrests and a swivelling seat, which also makes sitting at a table much easier.
Theres plenty of storage space, with a front basket and rear pocket for personal items. The freewheel lever allows the scooter to be pushed when needed, ideal for tight spaces or storage. Safety is a top priority with electronic incline braking, anti-tip wheels and front and rear LED lights for visibility. Theres even a horn to alert others when necessary.
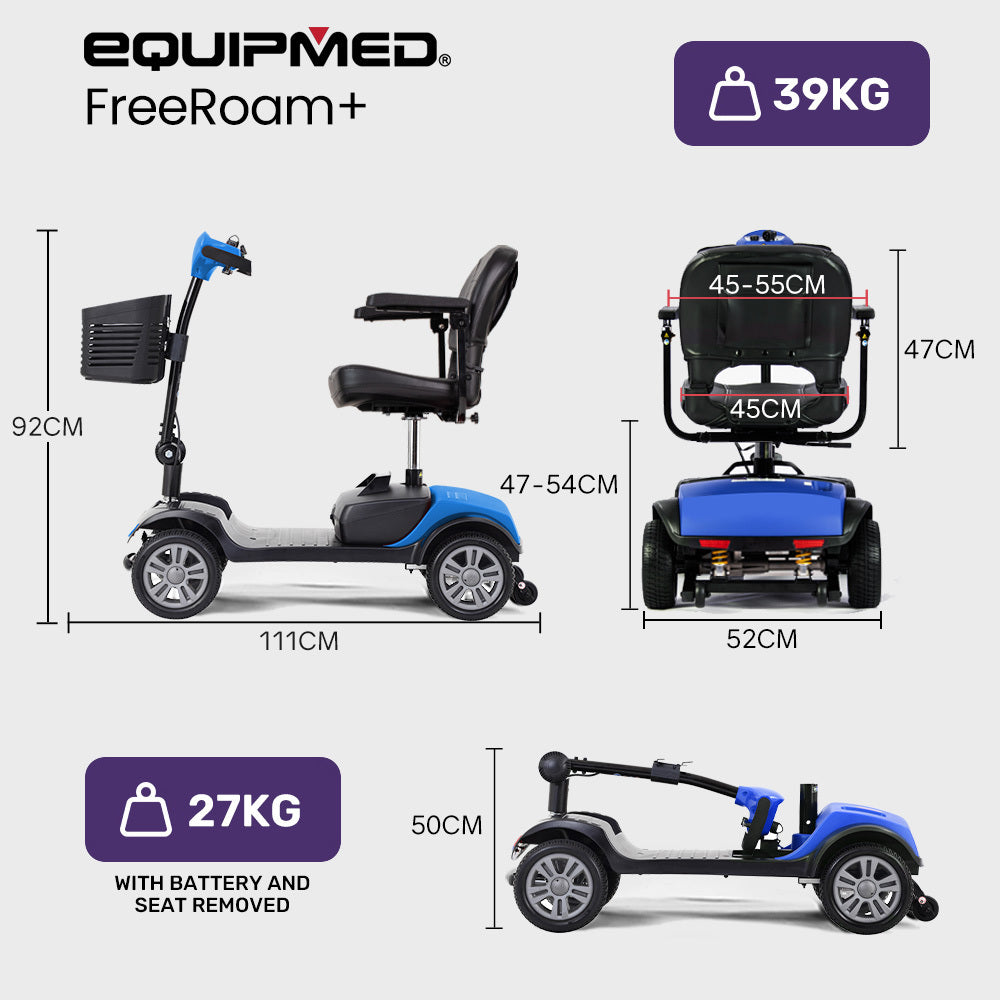
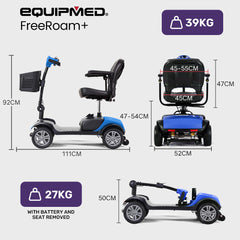
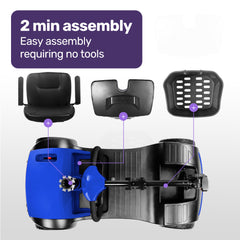
Transporting the FreeRoam+ is straightforwardthe seat and battery can be removed, making it only 27kg, and the handles fold down to fit into most car boots. Equipmeds long-standing reputation ensures youll be able to find replacement parts, like batteries and tyres, with ease.
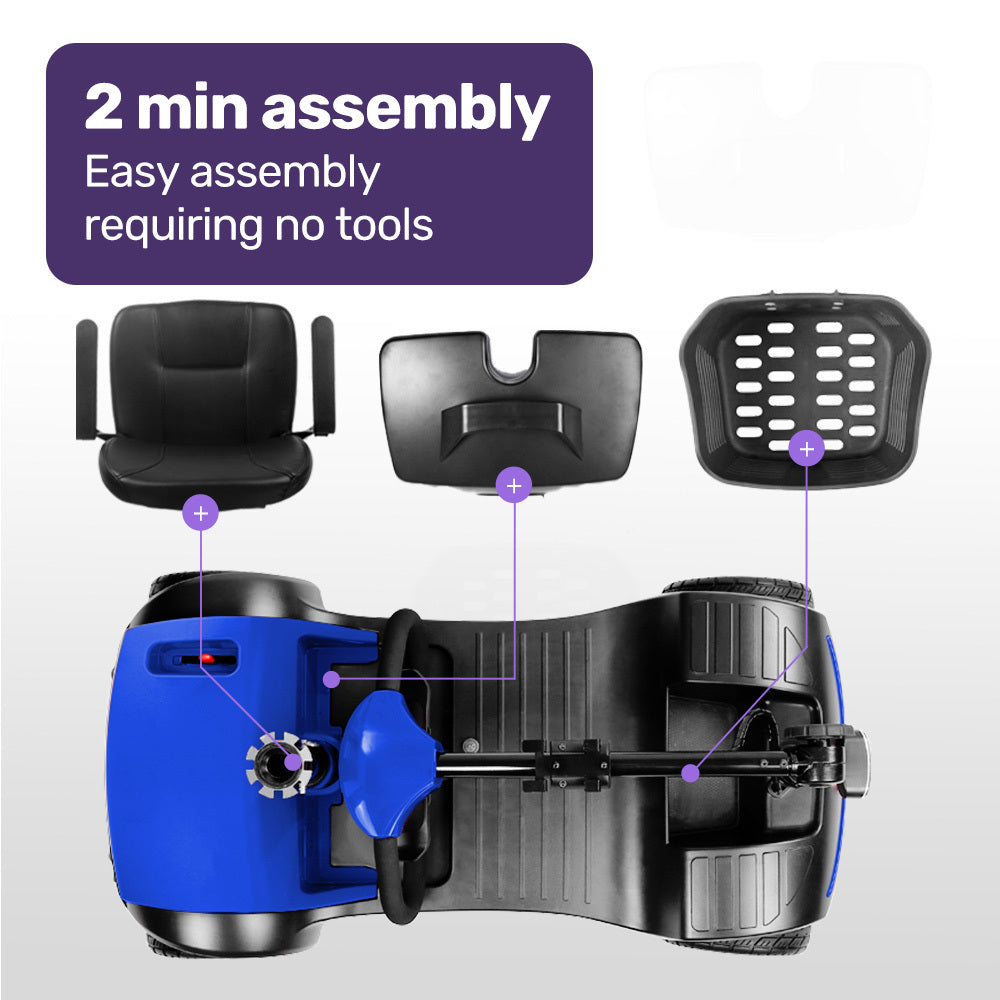
With simple assembly and a 120kg weight capacity, the FreeRoam+ is a practical, dependable solution for both users and carers.


We accept Change of Mind returns for 14 days after you have received the item in cases where you have changed your mind or made an incorrect purchase and wish to return the product. This also applies to orders canceled when the item has already been dispatched from our warehouse. The item must be in a re-saleable condition to qualify for a change of mind refund. Deductions may apply including Initial and Return Shipping, as well as restocking fee of 10% of the product price
At Yarra Supply, we stand behind our products. Most products come with a 12-month warranty unless otherwise stated on the product listing. Some products may be eligible for an extended warranty, so please check the specific product details to confirm.
Please note: Our warranty covers manufacturer defects and does not cover damage caused by user misuse or issues during delivery.
How to initiate a warranty claim
If you experience an issue with your product, please follow the steps below to submit a warranty claim:
Contact Customer Service and provide the following details.
· Order ID
· Description of the issue
· Images/Videos: Show any visible defects or faults. Please use the recommended file size and format for best visibility.
Our team will evaluate your claim and respond promptly. If you have any questions, please contact Yarra Supply Customer Service and provide your order ID for reference.
At Yarra Supply, we aim to make your shopping experience easy and hassle-free.
We offer free shipping on most products to most areas across Australia. While some items may incur additional delivery fees due to carrier limitations or delivery distance.
Any applicable shipping fee will be clearly displayed at checkout before you confirm your order.
We currently ship across Australia, and selected products are also available for delivery to New Zealand.
If you are shopping from New Zealand, please switch to the New Zealand site via the region selector on our homepage to view local availability and pricing.
Orders are typically processed within 1–2 business days.
Standard delivery time is 3–10 business days within Australia, and 7–15 business days for New Zealand orders (depending on your location and courier service).
Tracking information will be provided once your order has been dispatched.
Once your order has been shipped, you’ll receive an email with your tracking number and a link to track your parcel’s progress.
If your order hasn’t arrived within the expected time frame, please contact our customer service team at contact.yarrasupply@gmail.com with your order number, and we’ll assist you promptly.
If you need to cancel a purchase after the product has been dispatched, please note that the postage fee may not be refundable.
Additional postage fees may apply for re-delivery or re-direction requests.
If you are not satisfied with the product or have mistakenly placed the wrong order, please note that we are not responsible for any return shipping costs after the item has been shipped.
Get the latest updates on new products and upcoming sales
Thanks for subscribing!
This email has been registered!